Staples for a Well-styled Master Bedroom


Putting together a great master bedroom is one of those things that is all for you. It’s not about what your company might think when they come over or about how your family life functions, it’s about how you feel when you go to bed and when you wake up to start the day in the morning.

It’s also often the last place on the list. We all tend to put more time and effort into creating a great kitchen or into making the kids’ bedrooms magical before we indulge in making our own bedrooms beautiful. Justifying the money & time spent seems so much easier when it comes to common shared areas of the house that help everyone have a better day. I have to say, though, that the master bedroom is probably my personal favorite place to transform. It just feels so darn good to create a room that is intimately beautiful for my clients - I know it’s going to be a place that restores them every day. I believe in the power of nice sheets and soft lighting.

Read through my list of master bedroom staples and check out my top 24 picks and see if it inspires you to create that lovely space that restores you and yours. You are so worth it.


The staples:

1. A great color palette

Pick a simple color palette that consists of a neutral and one main color – you can go with just layers of neutrals if you want, or add in a color you love. Take a look at spring colors, dramatic jewel tones, or something from nature, but master bedrooms tend to look best with just one main color that is repeated in multiple places and echoed in some art or accessories elsewhere in the room. The master bedroom is a great place for soft touches of one color in many variations and shades, layered on top of neutrals - this echo and repetition of one color tends to create a soothing, relaxing mood in the room.

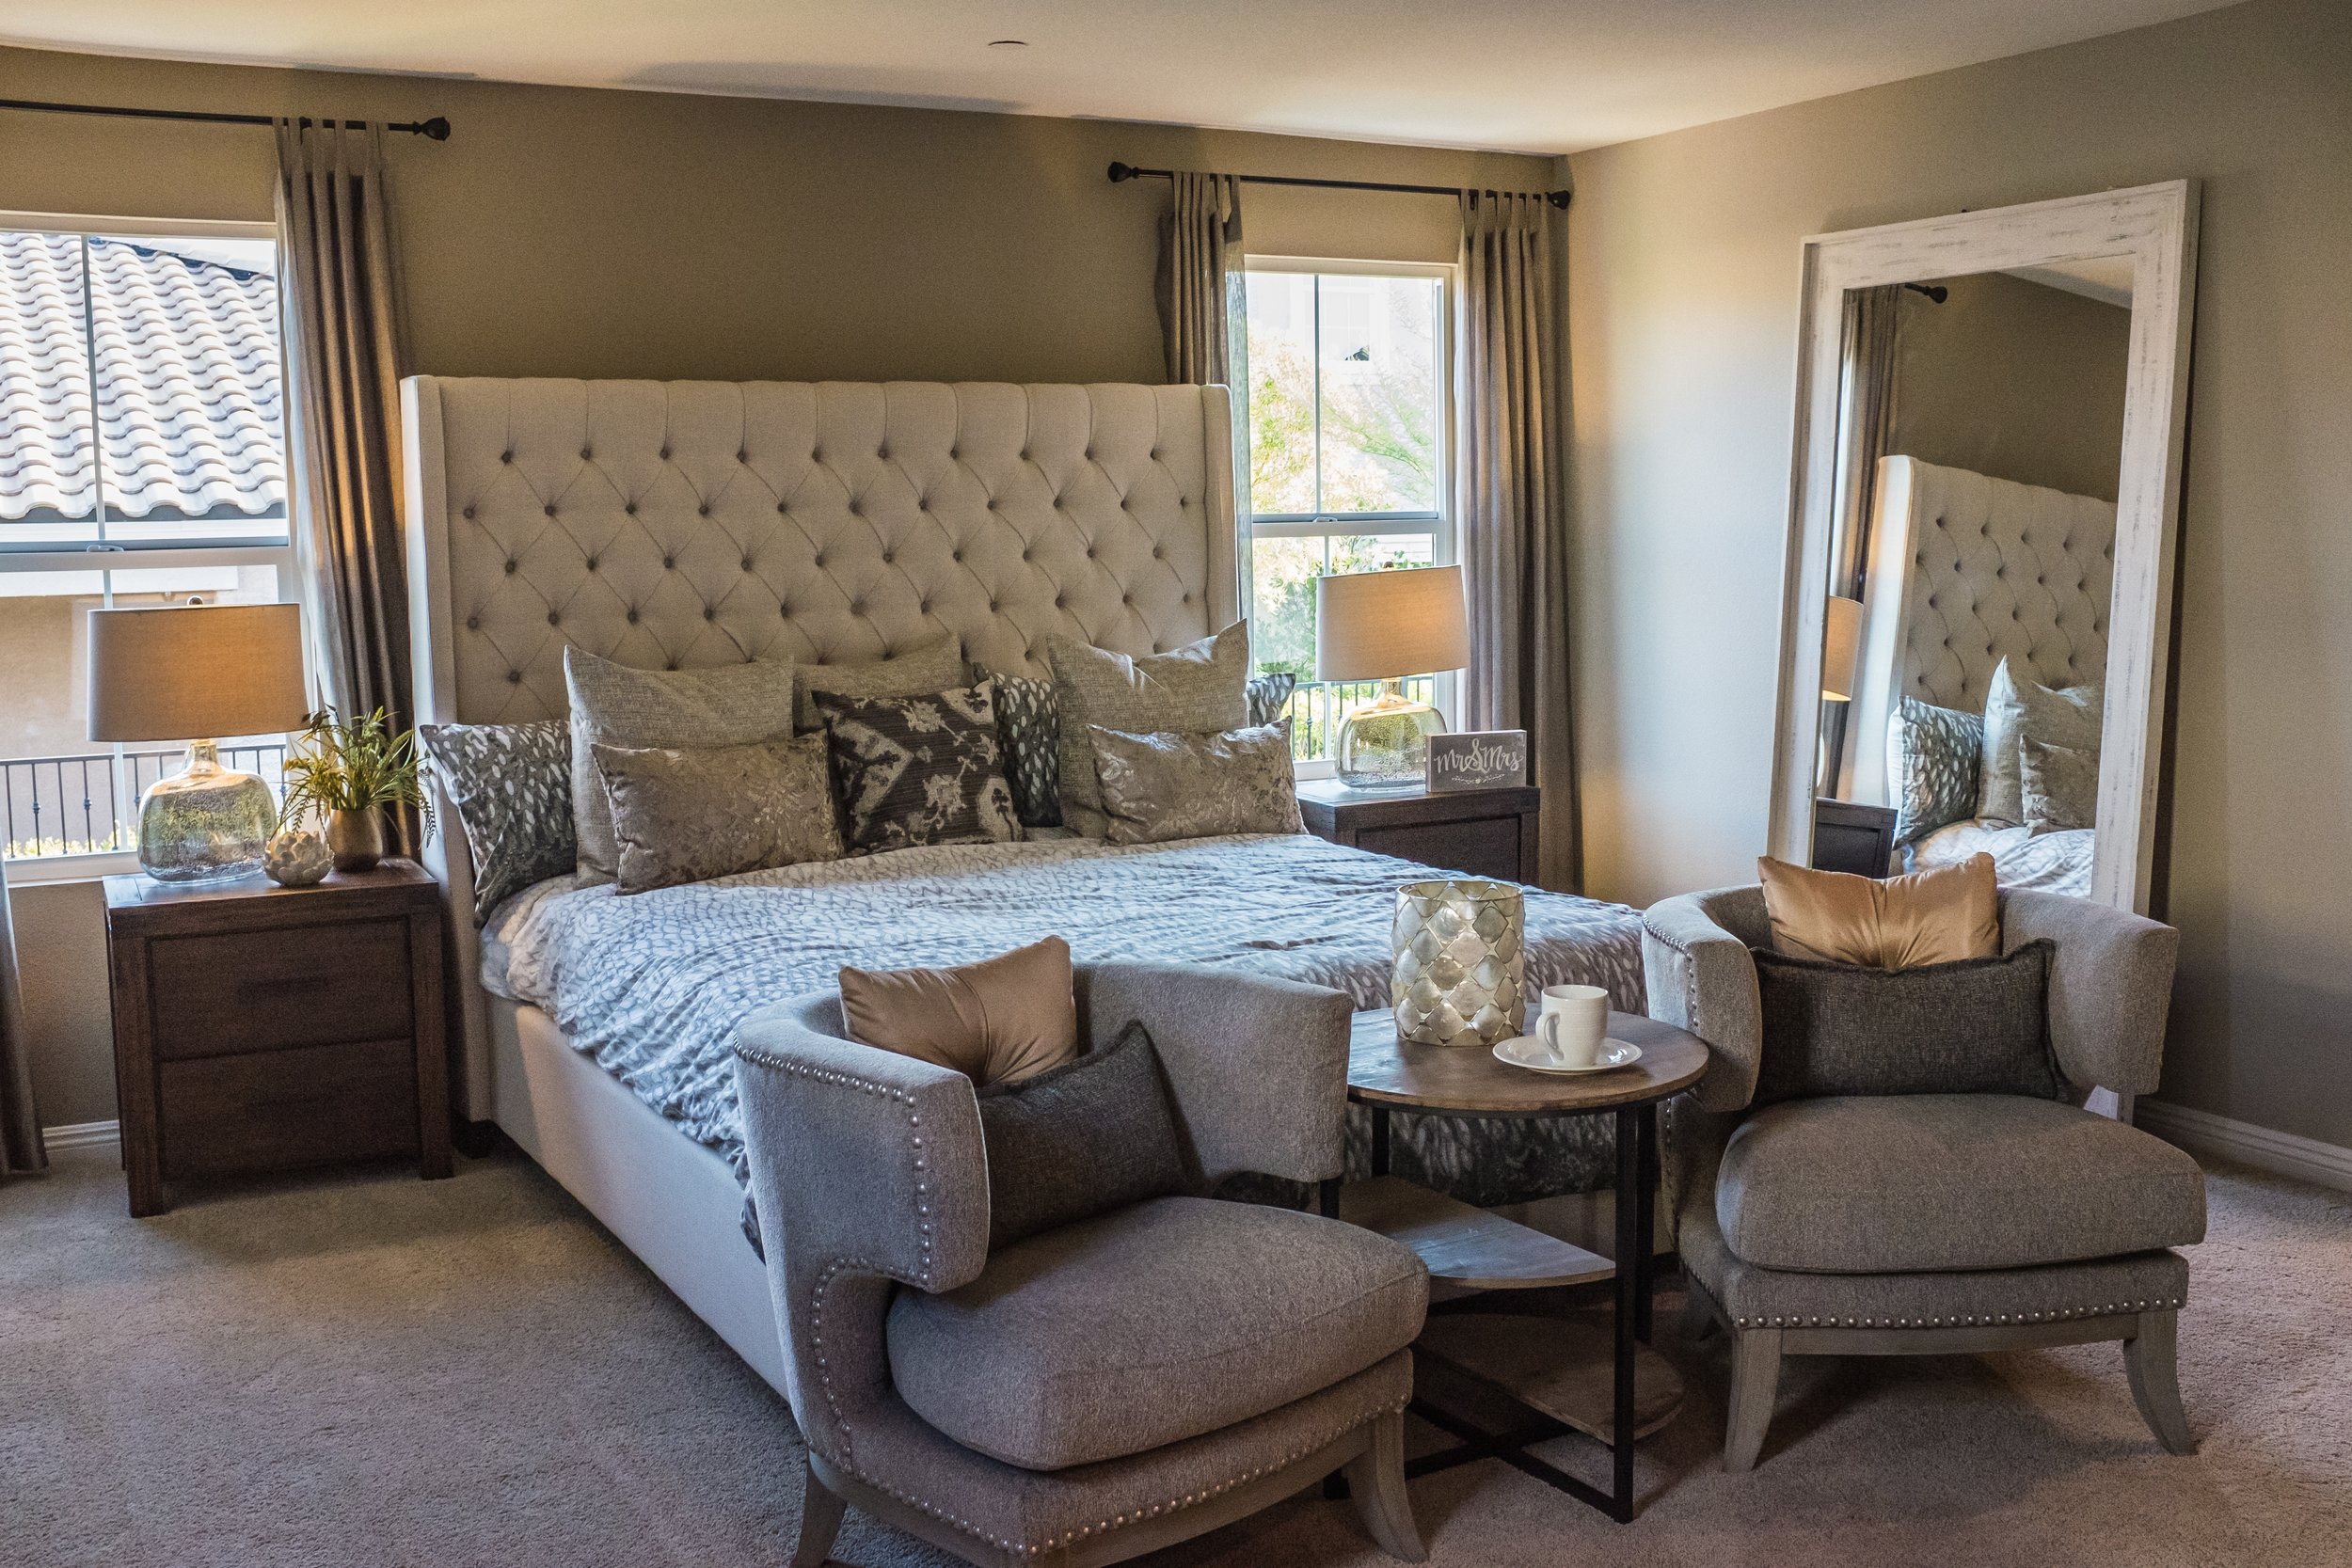
2. Luxurious bedding

Something thick and luxurious always looks great on a master bed. Adding some texture with pin-tucks, ruffles or ruching adds to the loft as well. If you don’t want to splurge on a high priced set right now, you can always use a duvet or comforter you already own and combine it with a duvet cover or even just a coverlet. There are lots of creative ways of achieving a rich, plush look without buying a new comforter. An old comforter, freshly washed and fluffed up, can easily be layered between a fresh top sheet and a thin coverlet - once it’s all folded down (I fold it over about 1/3 of the way down from the top and then tuck the raw edges under once more to create a really thick line), only the thick, plush folds will be visible and the old comforter will be perfectly hidden.

pexels-photo-57686.jpeg

3. Quality sheets

Smooth, beautiful sheets in natural fibers are worth the investment. Look for 100% cotton or bamboo and for colors that add something to your color scheme. Sheets often start to look rumpled and pull off of the bottoms of the mattress edges by morning - if this bothers you, you can cover the top of the fitted sheet with an extra piece of fabric to cover the top 1/3 of the bed. I get creative here and use things like thin folded coverlets, throws, hemmed fabric and even curtain panels to lie across the top of the bed (just over the sheets but under the sleeper pillows). This trick also can bring in some color and texture to the bed.

4. Sleeper pillows

Add in layers of sleeper pillows (2, 4, 6… whatever you need to sleep with) and coordinate the pillowcases to your comforter or go with crisp white. These will form a base layer behind your decorative pillows, so although they are just practical they can still add some loft and coziness to the look of your bed and should color coordinate. If they are really not in ideal shape, consider stacking them and covering them all with a throw or coverlet, or even just hiding them under the comforter.

pexels-photo-698158.jpeg
kari-shea-110409-unsplash.jpg
samuel-foster-380829-unsplash.jpg

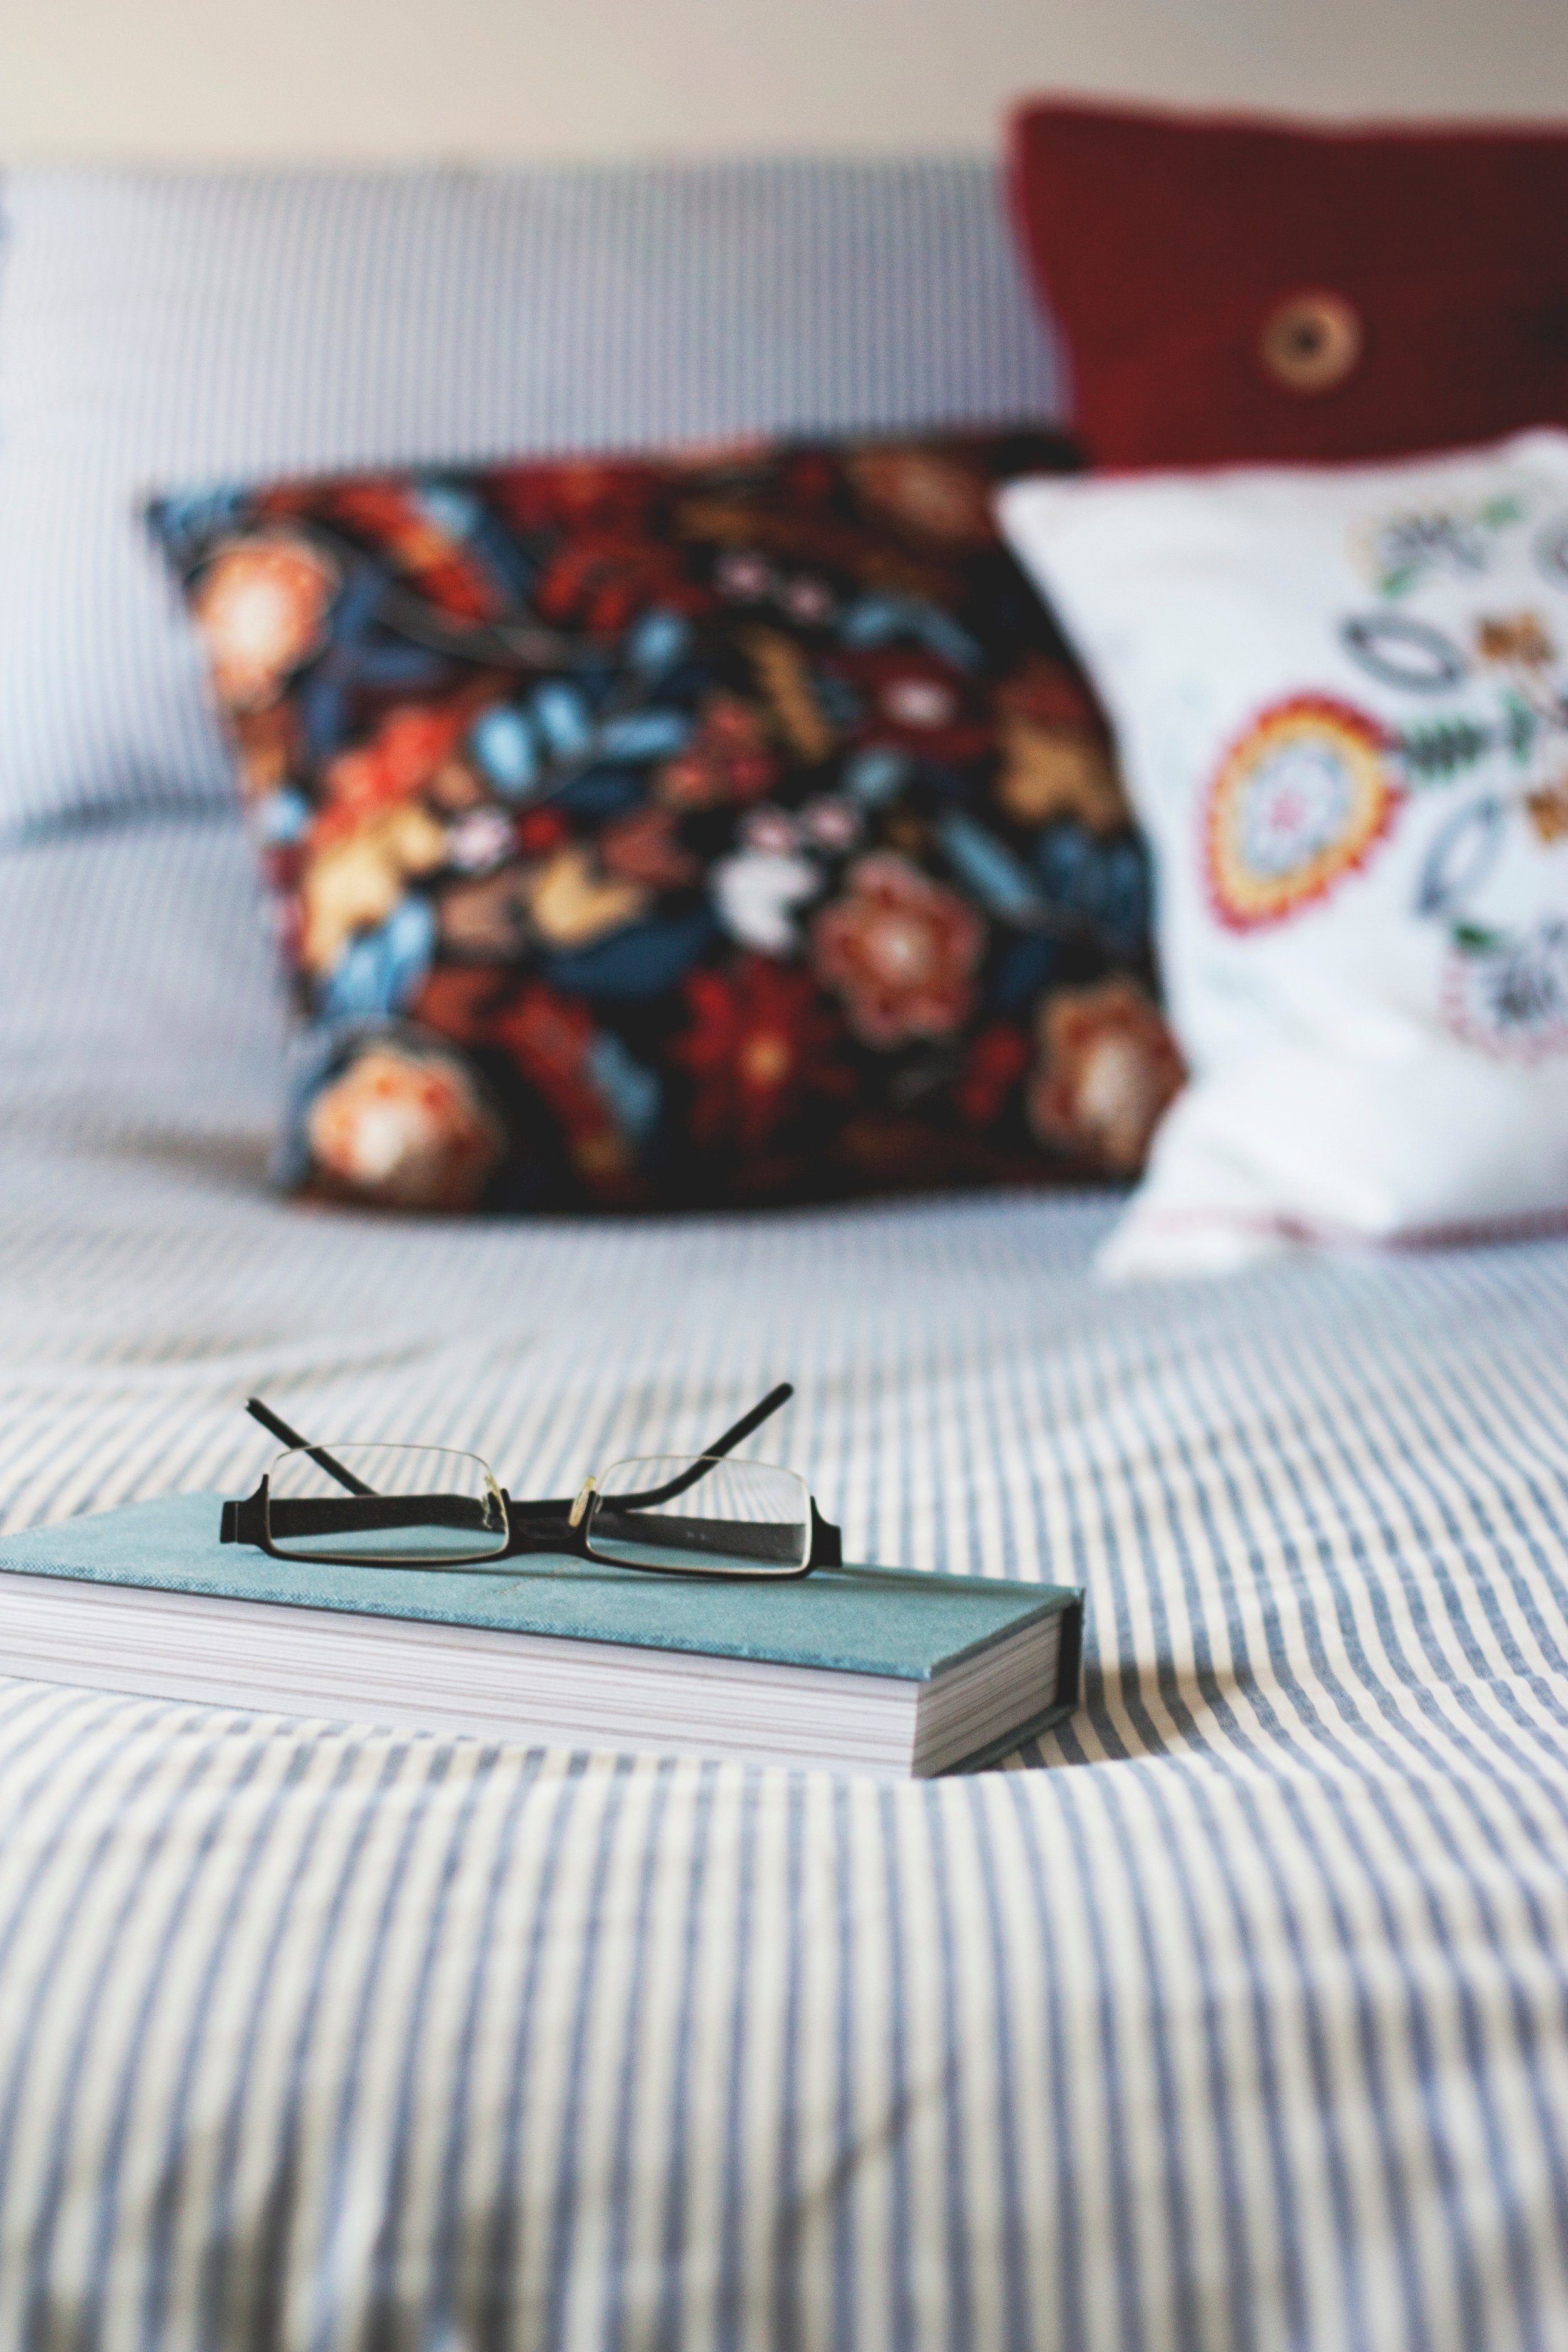
5. Decorative pillows

Here is where things really start to get luxurious. I am a huge fan of throw pillows - bang for buck, I think they add so much style and coziness to the bedroom for the investment. The only downside is that you do need to remove them before bed and carry them all back in the morning. I just stack mine on a dresser top, no big deal.

Is this where I confess that I have 5 decorative pillows on my bed… on top of 6 sleepers… and that my husband fully accepted the dusty pink sheets with raw-edge ruffles but said if I bring one more pillow onto our bed, we are going to have an issue? Yes, this is his life, the poor guy!

Decorative pillows – choose feather or down inserts whenever you can as they fluff and lay better. They are a worthwhile investment as you can just change out the covers over the years. There are many shapes and sizes, but the most common I use are below:

Euro pillows – huge squares, 26” x 26”, these can add huge impact. Use 2-3 for a king sized bed.

Standard toss pillows – these are most common in 16” or 20” squares, another place to bring in layers of color or repeat the main color of your bed. They can all be the same, all different, or a pair plus a few different ones. There’s really no rule here. Use 2-5 for a king sized bed

Accent pillow (bolster, small lumbar or shaped pillow) – just one of these is all that’s needed

6. Layers of texture

Texture is so vital to creating a cozy, relaxing space. You can look at the texture in your bedding, baskets, planters and other accessories, but my go-to is to layer texture in through the throw pillows and throw blankets. A small throw blanket that brings in some more color looks great folded or tossed at the foot of the bed, or folded in with the comforter at the top of the bedding (fold down the comforter about 1/3 of the way down, lay the throw on top of the fold, then tuck it under with the comforter at the fold and at the hem).

ty-carlson-396184-unsplash.jpg

7. Interesting art

Let your art bring in some personality. Bringing in color, texture, mood and style through art is one of the easiest things you can do. Choose a few statement pieces that are in line with the mood you are trying to create, rather than lots of smaller pieces with nothing to say.

8. Stylish bedside lighting

Lighting is a simple and beautiful way to add some coziness and warmth to the room. Choose lighting with soft shades and bulbs that have warm, soft light. Bedside lighting can be through table lamps, floor lamps, wall sconces or hanging pendants.

Check out my Ultimate Bedside Lighting Guide blog post for more detailed tips & ideas.

pexels-photo-262048.jpeg
 

Ready to love where you live?

Join 25 000 others for instant access to my library of free, practical, and down-to-earth interior design resources!


Want to Pin to save for later?

Here you go!

true design house - staples for a well-styled master bedroom - 46 - pinterest - 4.png
true design house - staples for a well-styled master bedroom - 46 - pinterest - 1.jpg
true design house - staples for a well-styled master bedroom - 46 - pinterest - 3.jpg

The Ultimate Bedside Lighting Guide


Bedside lighting is one of those details in a home that is almost equally form & function. Not only does great lighting add so much character and style to the room, but the specific fixture you choose adds vital functionality to your days (or nights).

Reaching for the perfect light from the coziness of your bed and having it be just where you need it, at the perfect height and just the right brightness, is one of life’s simple little ‘good things’. Is it just me that smiles a little to myself when I walk back into my bedroom for the last time at night and it’s just softly lit by my sweet little bedside lamp and the room is all warm and glowing?

Since I’m pretty sure I’m not the only one that’s in love with the idea of great bedside lighting, I’ve put together a guide with my top tips for choosing a great bedside light and a collection of 20 of my favorite lighting picks right now. So many stylish, beautiful things, I kind of want them all!

rhema-kallianpur-275251-unsplash.jpg

1.

Consider your arm’s reach

Make sure the switch height is just right for turning the lamp on or off from bed. Remember: if you have a short table, get a tall lamp and if you have a tall table, get a shorter lamp.

2.

Proportion

Lamp height should be in proportion to the bed (not above the headboard), the table (in good relation to both the width and height), and to any artwork above the table (you don’t want a large painting to overshadow a tiny lamp).

anna-sullivan-635346-unsplash.jpg

3.

Watch the bulb height

You don’t want to get blinded by the bulb if the lamp is too high or low.

4.

Soft start

A light with a dimmer or multi-level switch allows you to have quick access to soft light in the night before your eyes have adjusted.

christopher-jolly-616571-unsplash.jpg

5.

Specific might work for you

If you are a reader or want access to light when someone else is sleeping beside you, an adjustable swing arm lamp might be just the thing. Also consider shades that direct the light to your book, rather than generally lighting the room through the shade.

6.

Think outside of the box

There are so many options out there besides a standard table lamp. Consider small chandeliers, pedants hung from an overhead shelf, wall mounted lamps of all kinds, and floor lamp.

hamed-alishahi-1129785-unsplash.jpg

7.

Match them up, or don’t, but either way keep the balance

You don’t have to have identical twin lamps, but you should balance both sides of the bed. This can work really nicely with a floor lamp on one side and on the other side, a smaller table lamp with a piece of art mounted above the bedside table.

neonbrand-381354-unsplash.jpg

8.

Get personal

The bedroom is the perfect place for a burst of personality. Consider lighting in your favorite color, something that nods toward your favorite animal or something that you love but just can’t explain why.

Alright, check out all of these beauties - these are my top picks right now and they are all numbered and linked below!

TDH - bedside lighting guide.jpg

1 ||| 2 ||| 3 ||| 4 ||| 5 ||| 6 ||| 7 ||| 8 ||| 9 ||| 10 ||| 11 ||| 12 ||| 13 ||| 14 ||| 15 ||| 16 ||| 17 ||| 18 ||| 19 ||| 20


This post contains affiliate links. For more information please click on the 'policies' tab at the bottom of this page.


Want to Pin to save for later?

Here you go!

true design house - ultimate bedside lighting guide - 45 - pinterest - 4.png
true-design-house - ultimate bedside lighting guide.jpg
true design house - ultimate bedside lighting guide - 45 - pinterest - 1.jpeg

What to Put on Your Mantel - 100 Ideas


Somehow, styling the mantel feels like a big deal.  A showcase of your style and decorating on display.  Yes, we want to get it right and when you nail it, it’s perfection and just makes the room sing, but don’t let that slow you down. 

It’s a fluid space, you can try something and rearrange and try again.  You can add and take away and edit it endlessly, really.  It stays fresh this way, too!

Some tips for getting started on decorating your mantel:


flaunter-com-237602-unsplash.jpg

1.

Use what you love and what makes you happy – collected rocks, stacks of books, art, small collections.

2.

Match the style of the room – formal, casual, earthy & flowing, modern & minimal.

toa-heftiba-470543-unsplash.jpg

3.

Find a focal point – a large mirror, a great canvas painting, an interesting clock.

4.

Maintain balance – this does not necessarily mean symmetry, just balance the sides, both in scale of the details and overall size (height & width) of each grouping.

5.

Layer – it can add interest and warmth to layer things, slightly overlapping in front of one another.

6.

When in doubt, edit it down – too much can look messy and unstyled.  The goal is style, even casual style, not chaos that creeps towards looking like your junk pile.

sweet-ice-cream-photography-489253-unsplash.jpg

7.

Consider keeping family portraits elsewhere – the exception here is one or two very styled, artful images in frames that enhance the style of the room.  I’m thinking more of a row of yearly school photos or portrait studio baby photos that might better be kept in a bookcase or other less-prominent place.

As a side note, it can be hard to move things like this because, well, we love the people in the photos and looking at them makes us happy.  If this is a road block for you, consider the purpose of styling the mantel – if it’s to enhance the design of the room and make everything flow a bit better, then maybe a few photos and frames that are more in line with that purpose can be chosen.  Same people, different photos.  Even editing a few special photos to black and white sometimes does the trick.  There is a place for everything we love in our homes, you just need to find that ‘just right’ place.

paul-hanaoka-690172-unsplash.jpg

8.

About the TV – yes, it can work.  No, it isn’t ideal.  From a style and viewing perspective, it’s not the best position for the TV.  Some will also argue that the heat from a fireplace makes the mantel an unsuitable place for the TV.  But, hey, if that’s where it needs to be, or that’s where you like it, you can make it work.  I’ve done it plenty of times.  

The keys to decorating around the tv:

Minimize the other components - DVD player, receiver, etc, should go on a cabinet, shelf or table near the fireplace, not on the mantel.

Balance the visual weight of the tv with other heavy décor on each side – tall vases with tall sticks or greenery on each side, a collage of framed art surrounding the TV, a pair of canvas paintings flanking each side.

Soften the bottom edge – add something long, low and visually soft below the TV on the mantel (assuming it is wall mounted and there is at least a few inches of room).  A row of small rocks, a long low candle holder, a row of small vessels with greenery, a long box filled with flowers, a sign with something meaningful painted or a wood cut word or family name.

Bring in the edges – add some varying height to bring the edges of your display in at the bottom corners, to slightly overlap the lower corners of the tv frame.  This will soften the mantel and make the tv look like a cohesive part of the display.  Candle holders, greenery in vases, plants, anything that has some height and movement to it will work.

toa-heftiba-557564-unsplash.jpg

Overall, the mantel is a unique space – it’s sole purpose is decorative.  There are so many other places in our homes that need to function well first and foremost, but the mantel is a place just to showcase our style, to create a feeling for the room.  Have fun with it!


Want to pin to save for later?

Here you go!

Click to get the ultimate list of 100 ideas of what to put on your mantle. Immediate free downloadable guide from True Design House. {{ true-design-house.com | #InteriorDesignTips | #HowToStyleTheMantle | #MantleDesign | Interior Design Tips | Inter…

Change How Your Home Feels - 12 Things to do Today


When it comes to interior design, it doesn’t have to be complicated or fancy to be a good and important thing. 

I’m on a mission to help people love where they live because I think being at peace at home is the foundation for a balanced life.

Sometimes we all get overwhelmed by our home.  There so much to deal with every day, so much to clean or declutter, and it can end up weighing us down.   Often the last thing on your mind is the big picture of design and how your home is making you feel, but it is something meaningful to think about.  If you can break it down and know that making a small improvement will absolutely make a difference, you will feel so much better in your home.

If you’re on the same page but only have a few minutes today, here’s a dozen ideas to get you started!


1. Clear a surface & leave it empty

We all have a spot that tends to accumulate the stuff of life.  Clear one off, deal with what’s there, wipe it down and let it be.  This might be hard for some of us but, trust me, it’s going to feel so good to walk into the room and just see open air where there used to be too much stuff.  Will it stay this way?  Your guess is as good as mine.  Does it need to?  Nope.  You just need a refresh today, don’t overthink it.

2. Make your bed a little extra pretty

Make your bed, smooth the blankets, add a throw and maybe some fresh sheets and pillowcases.  Make it inviting and pretty.  Gather a few things from around the house if you have to.

3. Turn on lamps and light a few candles

Soft, warm, ambient lighting is one of the most important elements for a feel-good room.  If you have some small lamps with warm bulbs, light them up.  Adding in a few candles will really turn up the volume on this effect.  Middle of the day?  Who cares.  Go for it anyway.

4. Fill a small bag with trash

Just walk and toss, you’ll fill a bag before you know it.  Actual garbage?  Goodbye.  Things you’ve been meaning to deal with but aren’t likely to?  Buh-bye to you as well.  Things you’ve been saving with good intentions but are now ruining the peaceful vibe you’re cultivating?  See ya.  Key point:  get it out of the house and off your mind as soon as possible.

5. Set up a coffee or tea station

Adding a little nice touch to your daily drink area will make you feel good every time you use it.  A little tray, a stack of special mugs, a canister of tea, a pretty bowl of sugar.  Whatever you have around that is nice and makes you feel good to look at.  Gather a few things and give that spot some meaning.

6. Put on some great music

In the category of ‘intangible ambiance’, music can set the tone for your home.  Find something you love at a volume that suits your mood and let it transform your home.

7. Wipe down your front door

Seems almost too simple to actually matter, but coming home to a door that is cared for really does something nice for us.  It’s the first drop, causing that ripple effect:  well cared for, tidy, at ease.  Even if you mostly come in through the garage or back door (which could be polished up as well if you’re in the mood), giving the front of your house a little love helps you to feel proud of your home and puts you at ease when people stop by.

8. Organize a few drawers

It’s amazing the feel-good effect of opening a drawer to face knives neatly lined up or a sweet box of pens that all actually work.  Ahhhh!  Instant energy boost and internal sun beams.

9. Hang something on an empty wall

Sometime an empty wall just needs a little something - a small piece of art, a framed photograph, a little tapestry or something sculptural.  We often put off hanging things, but why not make it happen today?  Adding life to an empty space feels good, makes us smile and fills our home with character.

10. Rethink your side table styling

Often bedside tables get neglected and filled with the less than lovely clutter of life:  Kleenex boxes, hair elastics, dusty books, water glasses, medications, lotions.  Take a few minutes today to clear them off, wipe them down and rethink how you can style them in a way that feels lovely to look at when you crawl into bed.  Add some height with a large lamp or vase filled with tall foilage.  Corral those odds and ends in a pretty bowl or rustic basket.  Add a doily or fresh candle.  Maybe today is the day for some grocery store flowers.

11. Overhaul and declutter a closet

Going through a closet and getting rid of the things you don’t need is a beautiful thing.  Give it a dust & vacuum and put everything back in just where it belongs.  Simple and tidy just feels so good!

12. Style your front entry

Step outside or stay inside, whatever you like.  Take everything out of the space, give it a good sweep, polish the windows and wipe down the door.  Now take a good look at what actually needs to be in the space and give everything a home before thinking about adding some color - maybe some new throw pillows on a bench, some potted flowers, a new vibrant umbrella stand.  Even if all you do is hang up all the jackets and put the shoes in the closet, this is space going to feel so much better when you’re done.


Ready to love where you live?

Join 25 000 others for instant access to my library of free, practical, and down-to-earth interior design resources!


Want to Pin to save for later?

Here you go!

true design house - change how your home feels - 43 - pinterest - 4.png

The Best Hardware to Update Oak Cabinets


In a house filled with golden oak, it can be a challenge to update things in a way that is both stylish and doesn’t cost a frightening amount.  This is especially true when it comes to an outdated oak kitchen.

After all, most people are thinking ‘if I’m going to spend so much money to make this oak work, I’m going to just wait to completely renovate the kitchen.’  There is little point to investing in stone counter tops, new flooring and the rest of it, if you are just waiting it out until you can deal with the cabinets.

So, is there such a thing as a quick & simple update for an oak kitchen?  Absolutely!


There are a few ways you can make it work (right now and on a reasonable budget).  As a bonus, these are also things that can be done, by you, in a few hours.  One of the biggest impacts:   just change the cabinet hardware!


>> ps. I have written so much about restyling around honey oak and you can catch up on every article in the Oak HQ or for a complete step-by-step guide, check out my ebook Living With Oak. <<


Hardware makes an enormous difference in the bones of the cabinetry and the style of the room.  If I was designing an kitchen with existing oak cabinets, here’s what I would do: 

  • Paint it a great color

  • Clear the counters

  • Lay down a great, eye-catching rug

  • Add some interest (probably a big framed print and a huge plant in a nice planter)

  • Change out the hardware

  • That’s it!

You can do this, too! Then, since it looks so much better and you are at peace with it, you can move on to planning out that full kitchen reno you are still working towards. 

Or, maybe you will be so happy with the small changes you made that you can cross that idea right off the list and move on to dreaming about making other areas of your home just right.


Wondering if the hardware on your oak cabinets is outdated? 

Here’s some signs:

  • Full plastic

  • Overly ornate / ‘fancy’

  • Embellished

  • Brass or bright gold look

  • Ceramic inserts, especially painted with flowers or fruit

  • Wood center on pulls


What should you look for to get a hardware update right?

Details that will update oak cabinets:

  • Option 1 - historic - think luxurious historic mansions, libraries or craftsman styles like Frank Lloyd Wright’s architecture

  • Option 2 - modern - simple lines, single material, bold design

  • Respect the integrity and style of your home’s architecture

  • Consider the style of other elements in the room when choosing hardware: general style, colors, counters, sink & faucet, appliances and accessories. You want the new hardware to enhance or create more of that mood or style in the room. (If you are updating other things, think about the final look of how to room once you are done.)

  • Contrasting colors will make the new hardware stand out and give some visual breaks in the monotony of overwhelming golden oak (this is the magic power of distraction) - black, dark oil-rubbed bronze and bright chrome offer the best contrast.

  • Watch current trends - gold hardware on oak? At first glance, and solely in terms of color, brass or gold just aren’t a natural fit for oak cabinets… but, I have to say that my stance on this one has evolved as gold hardware has risen in popularity. I don’t normally base design decisions on trends, but when something is popular, it tends to have a lot of options on the market and some of these options (colors or styles) actually work very well to update oak cabinets… so this one is an ‘it depends’ for me. If you love gold or brass and can find one that has some contrast to the particular color of your cabinets, it can work very well!

Here’s my top 25 suggestions for updating oak cabinets with fresh hardware! 


ONE   |   TWO   |  THREE   |  FOUR   |   FIVE

 
true design house oak hardware update 2.jpg

ONE   |   TWO   |  THREE   |  FOUR   |   FIVE


ONE   |   TWO   |  THREE   |  FOUR   |   FIVE


ONE   |   TWO   |  THREE   |  FOUR   |   FIVE

 
true design house oak hardware update 5.jpg

ONE   |   TWO   |  THREE   |  FOUR   |   FIVE


Need a little more help with your oak home?


TDH - OAK HQ.jpg


Looking to Pin to save for later?

Here you go!

the best hardware to update oak cabinets - tons of suggestions with amazon links